McDewey
/mcpPage 70
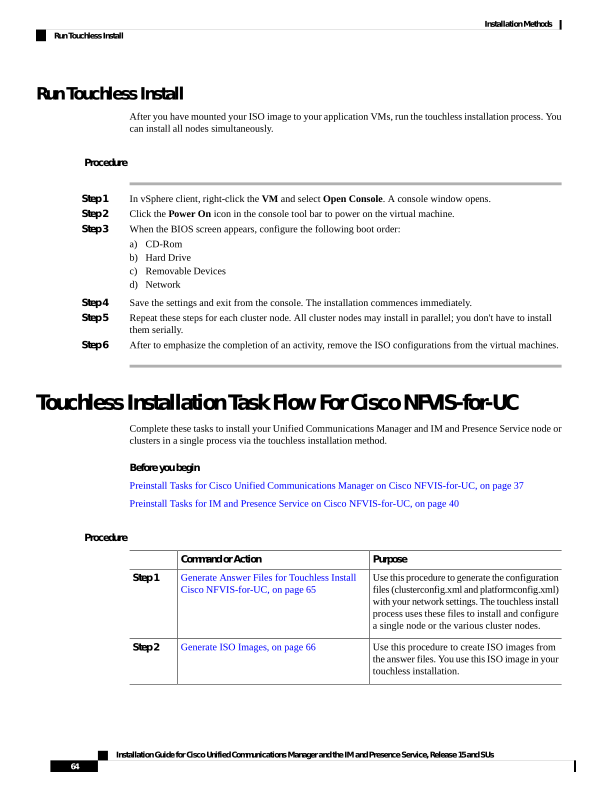
↗ View in doc contextRun Touchless Install After you have mounted your ISO image to your application VMs, run the touchless installation process. You can install all nodes simultaneously. Procedure Step 1 In vSphere client, right-click the VM and select Open Console. A console window opens. Step 2 Click the Power On icon in the console tool bar to power on the virtual machine. Step 3 When the BIOS screen appears, configure the following boot order: a) CD-Rom b) Hard Drive c) Removable Devices d) Network Step 4 Save the settings and exit from the console. The installation commences immediately. Step 5 Repeat these steps for each cluster node. All cluster nodes may install in parallel; you don't have to install them serially. Step 6 After to emphasize the completion of an activity, remove the ISO configurations from the virtual machines. Touchless Installation Task Flow For Cisco NFVIS-for-UC Complete these tasks to install your Unified Communications Manager and IM and Presence Service node or clusters in a single process via the touchless installation method. Before you begin Preinstall Tasks for Cisco Unified Communications Manager on Cisco NFVIS-for-UC, on page 37 Preinstall Tasks for IM and Presence Service on Cisco NFVIS-for-UC, on page 40 Procedure Purpose Command or Action Use this procedure to generate the configuration files (clusterconfig.xml and platformconfig.xml) Generate Answer Files for Touchless Install Cisco NFVIS-for-UC, on page 65 Step 1 with your network settings. The touchless install process uses these files to install and configure a single node or the various cluster nodes. Use this procedure to create ISO images from the answer files. You use this ISO image in your touchless installation. Generate ISO Images, on page 66 Step 2 Installation Guide for Cisco Unified Communications Manager and the IM and Presence Service, Release 15 and SUs 64 Installation Methods Run Touchless Install