McDewey
/mcpPage 32
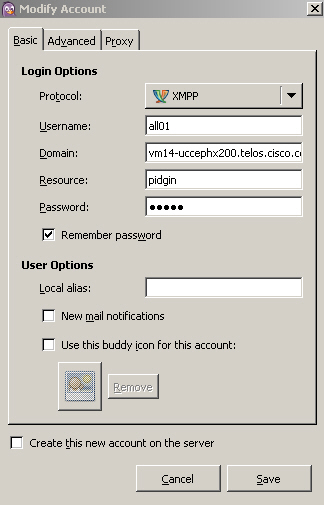
↗ View in doc contextMake sure that you use the same username and resource values in both Postman and Pidgin. Note You can download Pidgin from http://www.pidgin.im/download/. Perform the following steps to configure XMPP: 1. In Pidgin, go to Tools > Plugins to open the Plugins dialog box. 2. Check the XMPP Console and XMPP Service Discovery check boxes. Perform the following steps to configure Pidgin: 1. Add an account for your XMPP server. Go to Pidgin > Accounts > Manage Accounts > Add Account. The Add Account dialog box opens. 2. For Protocol, select XMPP. 3. For Username, enter the username for the agent that you added. 4. For Domain, enter the fully-qualified domain name of the Cisco Finesse server. 5. For Resource, enter any text. 6. For Password, enter the password of the agent. Figure 4: The Pidgin Interface 7. Click Save. 8. Click the Advanced tab. 9. Check the Allow plaintext auth over unencrypted streams check box. Cisco Finesse Web Services Developer and JavaScript Guide, Release 12.5(1) 16 Lab Development Environment Validation with Cisco FinesseWeb Services APIs Pidgin for Windows