McDewey
/mcpPage 42
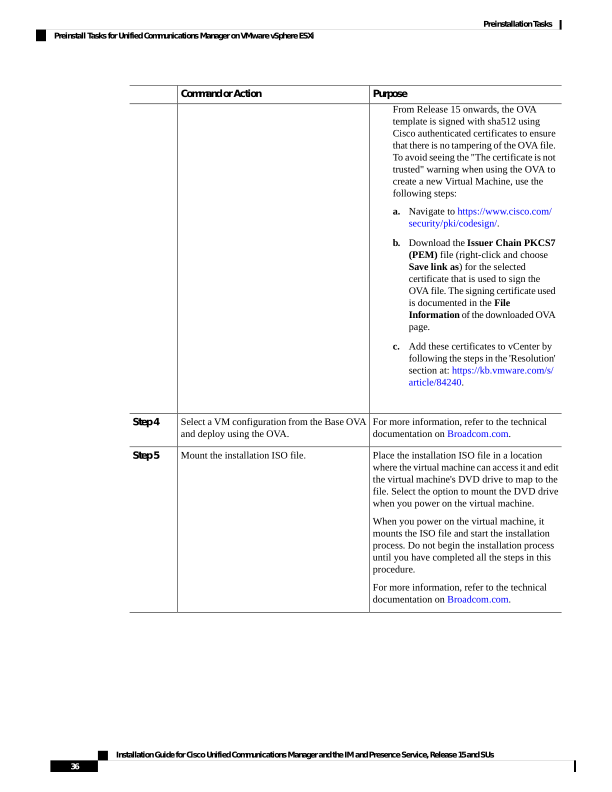
↗ View in doc contextPurpose Command or Action From Release 15 onwards, the OVA template is signed with sha512 using Cisco authenticated certificates to ensure that there is no tampering of the OVA file. To avoid seeing the "The certificate is not trusted" warning when using the OVA to create a new Virtual Machine, use the following steps: a. Navigate to https://www.cisco.com/ security/pki/codesign/. b. Download the Issuer Chain PKCS7 (PEM) file (right-click and choose Save link as) for the selected certificate that is used to sign the OVA file. The signing certificate used is documented in the File Information of the downloaded OVA page. c. Add these certificates to vCenter by following the steps in the 'Resolution' section at: https://kb.vmware.com/s/ article/84240. For more information, refer to the technical documentation on Broadcom.com. Select a VM configuration from the Base OVA and deploy using the OVA. Step 4 Place the installation ISO file in a location where the virtual machine can access it and edit Mount the installation ISO file. Step 5 the virtual machine's DVD drive to map to the file. Select the option to mount the DVD drive when you power on the virtual machine. When you power on the virtual machine, it mounts the ISO file and start the installation process. Do not begin the installation process until you have completed all the steps in this procedure. For more information, refer to the technical documentation on Broadcom.com. Installation Guide for Cisco Unified Communications Manager and the IM and Presence Service, Release 15 and SUs 36 Preinstallation Tasks Preinstall Tasks for Unified Communications Manager on VMware vSphere ESXi