McDewey
/mcpPage 43
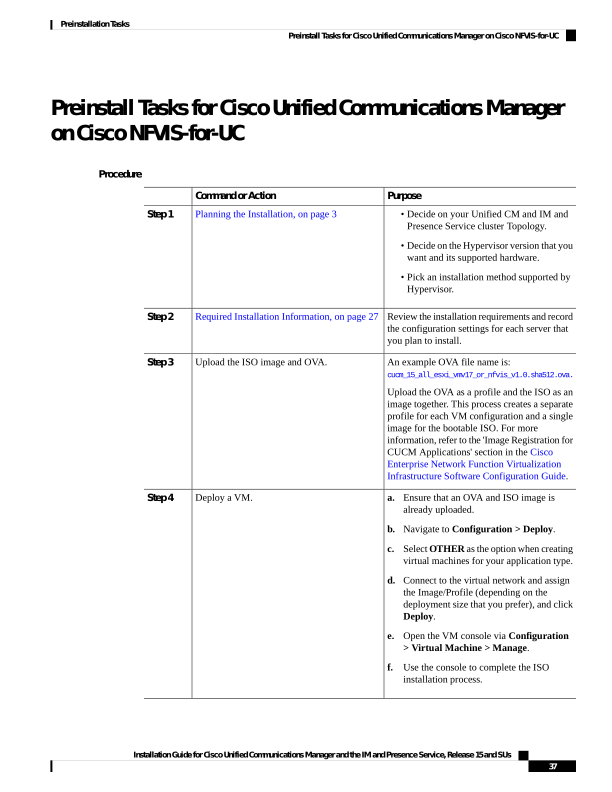
↗ View in doc contextPreinstall Tasks for Cisco Unified Communications Manager on Cisco NFVIS-for-UC Procedure Purpose Command or Action Planning the Installation, on page 3 Step 1 • Decide on your Unified CM and IM and Presence Service cluster Topology. • Decide on the Hypervisor version that you want and its supported hardware. • Pick an installation method supported by Hypervisor. Review the installation requirements and record the configuration settings for each server that you plan to install. Required Installation Information, on page 27 Step 2 An example OVA file name is: cucm_15_all_esxi_vmv17_or_nfvis_v1.0.sha512.ova. Upload the ISO image and OVA. Step 3 Upload the OVA as a profile and the ISO as an image together. This process creates a separate profile for each VM configuration and a single image for the bootable ISO. For more information, refer to the 'Image Registration for CUCM Applications' section in the Cisco Enterprise Network Function Virtualization Infrastructure Software Configuration Guide. Deploy a VM. Step 4 a. Ensure that an OVA and ISO image is already uploaded. b. Navigate to Configuration > Deploy. c. Select OTHER as the option when creating virtual machines for your application type. d. Connect to the virtual network and assign the Image/Profile (depending on the deployment size that you prefer), and click Deploy. e. Open the VM console via Configuration
Virtual Machine > Manage. f. Use the console to complete the ISO installation process. Installation Guide for Cisco Unified Communications Manager and the IM and Presence Service, Release 15 and SUs 37 Preinstallation Tasks Preinstall Tasks for Cisco Unified Communications Manager on Cisco NFVIS-for-UC