McDewey
/mcpPage 45
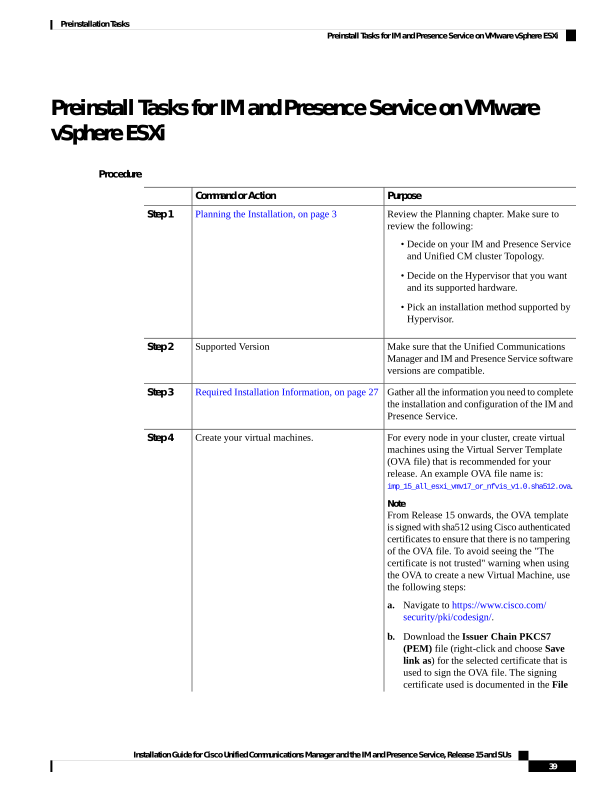
↗ View in doc contextPreinstall Tasks for IM and Presence Service on VMware vSphere ESXi Procedure Purpose Command or Action Review the Planning chapter. Make sure to review the following: Planning the Installation, on page 3 Step 1 • Decide on your IM and Presence Service and Unified CM cluster Topology. • Decide on the Hypervisor that you want and its supported hardware. • Pick an installation method supported by Hypervisor. Make sure that the Unified Communications Manager and IM and Presence Service software versions are compatible. Supported Version Step 2 Gather all the information you need to complete the installation and configuration of the IM and Presence Service. Required Installation Information, on page 27 Step 3 For every node in your cluster, create virtual machines using the Virtual Server Template Create your virtual machines. Step 4 (OVA file) that is recommended for your release. An example OVA file name is: imp_15_all_esxi_vmv17_or_nfvis_v1.0.sha512.ova. Note From Release 15 onwards, the OVA template is signed with sha512 using Cisco authenticated certificates to ensure that there is no tampering of the OVA file. To avoid seeing the "The certificate is not trusted" warning when using the OVA to create a new Virtual Machine, use the following steps: a. Navigate to https://www.cisco.com/ security/pki/codesign/. b. Download the Issuer Chain PKCS7 (PEM) file (right-click and choose Save link as) for the selected certificate that is used to sign the OVA file. The signing certificate used is documented in the File Installation Guide for Cisco Unified Communications Manager and the IM and Presence Service, Release 15 and SUs 39 Preinstallation Tasks Preinstall Tasks for IM and Presence Service on VMware vSphere ESXi